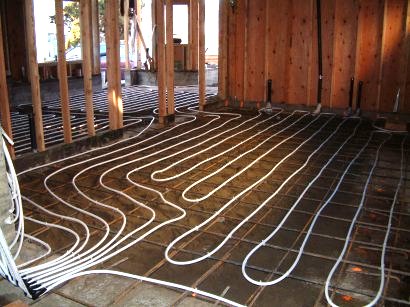
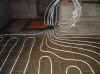
RADIANT TUBING IN CONCRETE SLAB FOR GROUND LEVEL HEATING
Looks easy huh? Well, it wasn't!

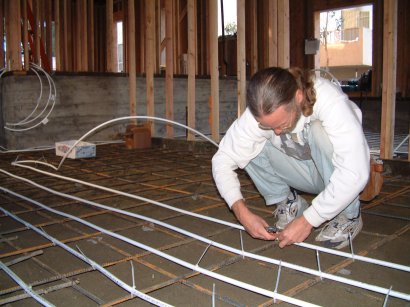
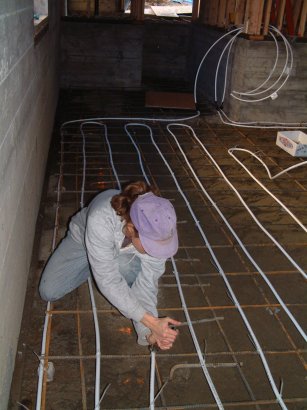
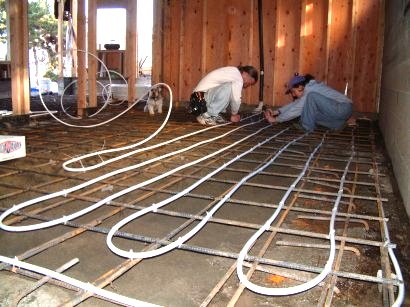
First there was rebar (fuzzy guy not included). Then there was the wrestling of the PEX (cross-linked polyethylene) tubing to follow the rebar. Once aligned, we tied the tubing to the rebar with zip ties.

All the tubes start & end Once installed, stepping Creative design
in the same place on the tubing is not cool! around the shower drain
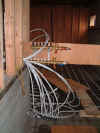
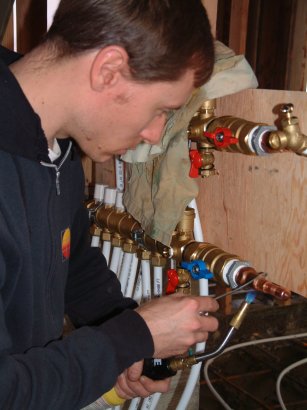
The tubing terminates at a manifold. Both ends of the tubing connect to the manifold creating a loop of no longer than 300'. There are a total of 13 loops that will provide heat to the whole house. The manifold contains valves that turn water on & off to each loop. If an area requires heat, a valve opens bringing hot water into the loop dedicated to that area.
Then there was the dog. :-)
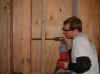
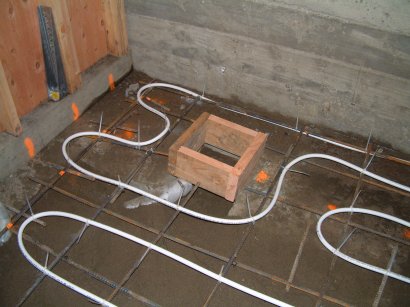
Michael drilled 3/4" holes for larger tubing that will eventually bring heat to the accessory shed in the back yard.
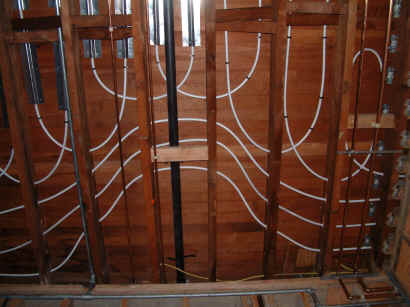
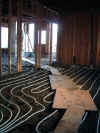
RADIANT TUBING IN JOISTS FOR UPPER LEVEL HEATING
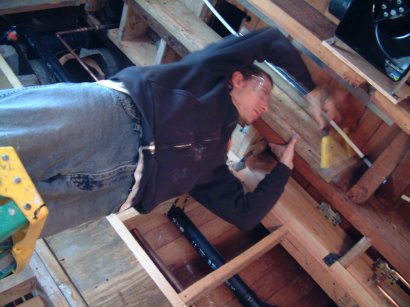
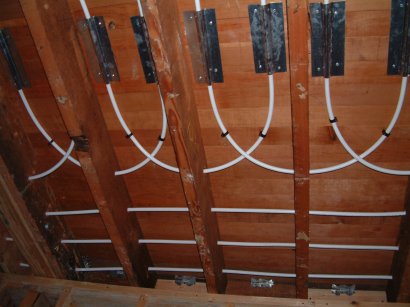
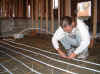
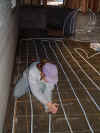
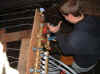
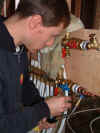
To heat the upper floor we ran tubing between the joists that hold up the floor above. Talk about wrestling. Holes drilled in the joists allowed for a continuous run of tubing (up to 300') - starting at the manifold - up and down a few joist bays - then back to the manifold.
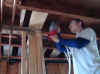
Michael drilled holes to insert tubing through. Once a loop of tubing is laid out, bay by bay, it is held into place by clips and sheet metal plates that disperse heat from the tube to the hardwood floor above. The temperature of the water running in the tubing encased in concrete for the lower floors will be 90 degrees; the temperature of the water in the tubing between the joists below the wood floors upstairs will be 160 degrees. Concrete absorbs heat more efficiently than wood.
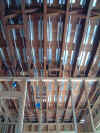

Several bays of radiant tubing Gothic design at each end. Creative designs.